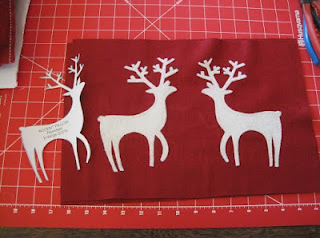
The pillow comes from the Better Homes and Gardens Holiday Crafts magazine but could easily be made with any reindeer silhouette found with a Google image search.
We made a number of modifications to the pattern to make it easier - and just for fun. The first step is to trace the reindeer at full size facing two directions using a water-soluble pen or a pencil. Then cut them out and spray them with water to remove the pen.
We cut out 2 pieces of red wool (sized ~9"x14"). We then used temporary spray adhesive (sprayed onto the backs of the dried reindeer) to temporarily center the reindeer onto one piece of the red wool.
Instead of sewing the reindeer onto the wool, we used my mom's felting machine to merge the reindeer into the wool.
Once the top was done, we triple-stitched the top, bottom, and one side of the pillow (right sides facing out). As well we used white trim (with balls attached) instead of using individual felted balls. We attached the trim with the sewing machine to the side we initially sewed.
Then we stuffed the pillow and used the triple-stitch to close up the last side. Then we hand-sewed on the last piece of trim (easier than trying to fight with the sewing machine).


No comments:
Post a Comment