
Hanging laundry organizer
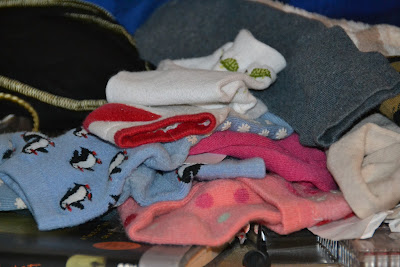
The purpose of this is to throw matching socks in the bag so you don't have to search for a sock to make a pair (especially if the go in different loads) or you can sort things into this bag that can go in the washer but not dryer. You throw the bag in the washer full of clothes. Which means that I can get rid of this random pile of clean socks off the dresser!
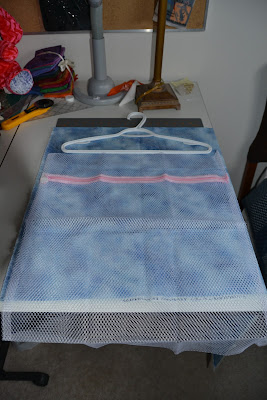
I bought the washing bag and added the hanger portion on. For a full tutorial see below:
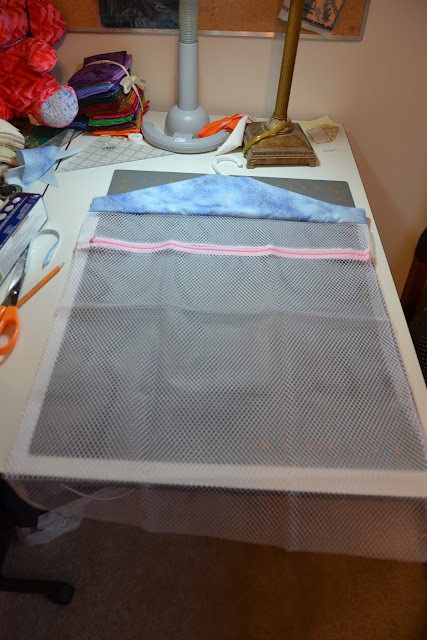
Buy a Washing Clothes Bag of some kind:

When opened it looks like this:

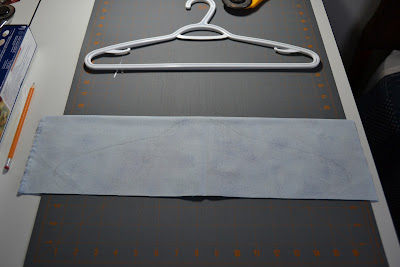
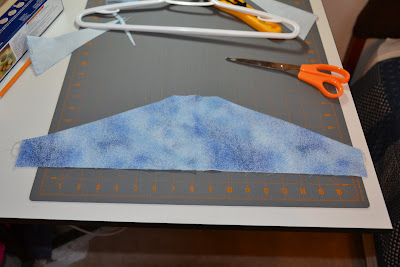
Place the hanger on a piece of fabric with the neck of the hanger on the fold of the fabric. As you can see, the width of my bag is very similar to the width of the hanger.
The piece of fabric I used was approximately 21" x 11" (once folded as shown below it measures 21" x 5.5"):

On the wrong side of the fabric place the hanger as shown (with the neck of the hanger on the fold and centered):

Trace around the top of the hanger with a pencil:

Take the hanger off the fabric and fold wrong side out along fold line:
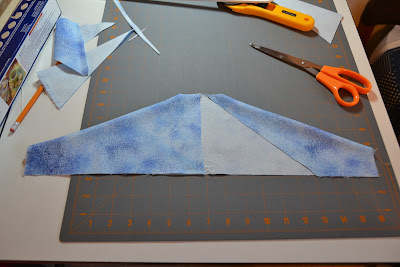
Leaving about an inch on each side of the neck cut a straight line following the angle of your hanger to the outside edges (as shown):

Before I sewed anything, I cut a hole in the top of the fabric along the fold for the hanger to get through, and cut a line from the bottom middle of ONE side of the fabric to the hole for the hanger.

Then I sewed from the folded edge to the outside edge with a 1/4" seam allowance (on both sides):

I then sewed the two edges closed:

I pressed the seams open, turning the fabric right side out:
To be able to slide the hanger out of the slip for washing, I cut a triangle out of ONE side of the slip:
(You could finish the edge of this cut but I did not)

Sew along this edge using a 1/4" seam allowance, DO NOT IRON unless your bag is safe to do so.
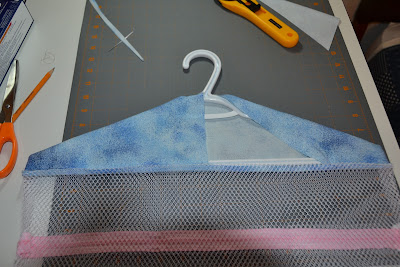
(Picture shows back of bag)

and YOU'RE DONE!!! This is both the first time I've done this, as well as the first time I've tried to write directions for a sewing project that included a hanger and a pre-made bag so if you have any questions let me know :)
Such a good idea. I feel like the sewing part is a little complicated for me, but I want to do something like this. We'd be buying fewer socks, that's for sure.
ReplyDeleteIt's really just a matter of 5 seams... 3 if you sew the seam across the top of the hanger (at the angle) and the short little seam down at the same time. Let me know if you have any questions.
Delete